Monday, June 30, 2014

Green Yard Care Tips & Ideas

Go Green in 2014: Week 26


Green yard care is about keeping our outdoor space clean and free of pollutants - or, to the best of our abilities, at least. Since this is our first full summer living in our own home, with our own yard, my husband and I have had a lot of yard work to take care of, from mowing the lawn to planting flowers and removing weeds.

Grooming your lawn the green way

When our gas lawnmower stopped working this spring, we needed to quickly buy a new one. My husband mentioned getting a push reel mower (affiliate link), and I was all for it; they are cheap, but they are also green because they don't need gas or electricity to cut the grass.

The good: It actually works, and it's light and easy for me to use. It's a good way to get exercise in the summer. Plus, you don't have to worry about gas and oil, or about having to make sure it's charged up.

The bad: While it does an excellent job of cutting the grass, it isn't quite able to cut all the weeds and dandelions. And every time a twig gets caught in the blades, you have to stop and pull it out. It's good for smaller yards, but I'm not sure I would want to use it on a larger yard.

To be honest, we will probably eventually buy a new gas or electric mower for my husband to use every once in a while. We will still use the reel mower on occasion, and I will probably still use it anytime I mow the grass (which, I'll admit, isn't very often!).


Homemade weed killer recipe

Our yard is filled with weeds, and we finally got around to making a batch of homemade weed killer this weekend. The weeds in the area we tested it on already look like they are starting to wilt. Here's how to make homemade weed killer.

Ingredients:

  • 1 gallon vinegar/apple cider vinegar (the higher the acidity, the better*)
  • 1 cup salt
  • 1 teaspoon liquid soap
*Note: If you use vinegar with a lower acidity (like the kind you would have in the pantry), the weeds might start to wilt then come back to life, so you might need to buy vinegar with a higher acidity than 5-6%.

Directions:

  1. Avoid spraying weeds when the ground is wet; if it has rained recently, wait until it has had a few days to dry up. Check the forecast to make sure it's not supposed to rain; otherwise, the weed killer won't stick and will wash into the ground.
  2. Mix up the ingredients in a glass spray bottle, adjusting the amounts to fit your bottle. If you use a plastic bottle, only make enough for one use, since the acid could eat away at the plastic.
  3. Spray the weed killer liberally all over the weeds, being careful not to get it on the surrounding grass. If it gets on the grass, it may die and not grow back in that area.
  4. Watch for results, and repeat as needed.

More ways to go green with yard care

  • In the winter, shovel the snow instead of using a snowblower. Doing so will reduce pollution and give you a great workout. If this isn't always possible, consider shoveling rather than snowblowing anytime you are able.
  • Cut back on watering the grass as much as possible to avoid wasting water. Use a watering can to water flowers and plants (instead of a hose) to reduce water usage.
  • Plant flowers, trees, and shrubs in your yard. Plants provide us with clean air; plus, trees can help shade the house, reducing cooling costs in the summer.

These are just a few ideas for going green with your yard care; what are some ways you have gone green in the outdoors, whether during the summer or another season?

~ ~ ~

*Disclaimer: I bought all of these products with my own money, and have not received compensation of any kind to review them.

**Disclosure: Although this post may contain affiliate links, all opinions are my own.

Your challenge: This week, consider the ways you can go green with your yard care and try to implement them into your routine.
______________________________________________________

**This post is part of a weekly challenge {Go Green in 2014}, during which the author has challenged herself - and you - to find 52 ways to lead a greener life in 2014. You can follow the weekly posts on this page.**

Saturday, June 28, 2014

'Go Green in 2014': The halfway point


Well...this year is already half over, which means my 2014 challenge is also half over. How's it going so far?

I'll admit, I have started to slow down a little in the motivation department, but I'm not running out of steam yet.

Luckily, I have been able to come up with different ways to go green each week this year. I have been publishing my weekly blog posts on Monday morning every week. Although I am getting a little low on ideas, I still have enough to cover the next couple months at least. By then, I will surely have more green tips to make it through the rest of the year.

Visit this page to see my progress so far.

The first half

I kicked off the new year by signing up for the curbside recycling program; since then, I have blogged about greening the laundry room, reducing office waste, composting - not to mention the various recipes I have shared for cleaning and personal care products.

The second half

This coming week's post about green yard care is all set and ready to publish first thing Monday morning. In the next few weeks, you can expect to see more recipes, as well as ideas for safer personal care products, ways to reduce waste, and sometime in the near future I'll share my current project: How to make your own no-sew reusable cloth napkins and "unpaper" towels.

What can you expect after the year is over? 

Although I will no longer have scheduled weekly posts, I still plan on blogging on a regular basis about various green living topics. And because some of the topics I have gone over in the past few months have been pretty broad, I will likely get into more detail once we get into the next year.

Note: If you have any suggestions or ideas that you would like to learn more about, please let me know either in the comments section below or using the contact form on the right sidebar.

Come back Monday for Go Green in 2014: Week 26!

Monday, June 23, 2014

Green Dish Washing Tips & Tricks

Go Green in 2014: Week 25

I apologize that this is late...I am traveling and have limited internet access. In this post, I will go over a few ways we have gone green with dish washing.


I hadn't really given my dish washing products a second thought until I started "going green", and even then, they weren't at the the top of my list of things to switch out.

After all, we rinse the soap off our dishes and it just goes down the drain, never to be seen again...right?!

Not quite. Even if there is no soap residue left on the dishes, it doesn't just disappear into thin air...it has to go somewhere after leaving your plumbing. That means if you are using products with harsh chemicals, those chemicals are contaminating every place them come into contact with.

Well, when we moved into our new house, I finally had a dishwasher again. The dishwasher, however, wasn't doing a great job of washing the dishes and rinsing at the end of the cycle.

We were advised to use Finish dish washing tablets, which worked well with our city's hard water. However, my mom later gave us a bottle of Melaleuca gel dishwasher detergent (affiliate link). So we gave it a try, and it seems to work just as well; plus, it is safer for both us and the environment.

...meanwhile, I had read that apple cider vinegar (ACV) could be used as a rinse aid, so we decided to give it a try. We simply filled it up with ACV and gave it a try. To our surprise, it worked really well! As a bonus, it is cheap, natural, and doesn't contain yucky chemicals that will contaminate our dishes.

Finally, when we used up the last of our green apple scented dish soap, I decided to try out Dr. Bronner's liquid castile soap (affiliate link) for hand-washing some of the dishes. Although my husband complains that it doesn't cut the grease very well, I find that it works just fine to place a few drops of diluted soap directly on greasy pans before wiping them down. We dilute it one part soap to approximately four parts water and keep it in a soap pump next to the sink. This way, it can be used both for dishes and washing our hands.

Caroline Bach / https://www.flickr.com/photos/carolinebach/

Tips for dish washing...the green way

  1. Switch to non-toxic products. Choose eco-friendly dish soap and dishwasher detergent, and consider using apple cider vinegar as
  2. Choose an energy efficient dishwasher. These days, most appliances are energy efficient, but if you are ever in doubt, look for the Energy Star logo a rinse aid.
  3. Wait until the dishwasher is full before running it. Doing so will help to save water, energy, and detergent.
  4. Use as little water as possible when hand washing. Rather than filling up the sink right away, I like to start out with about an inch of hot water with soap, then let the sink fill up as I rinse the dishes.
  5. Minimize laundry by letting dishes air dry. Plus, damp towels can harbor bacteria, which can transfer to the surfaces of the plates, glasses, and utensils you use for eating.

These are just a few ideas to go green when washing dishes. What are some ways you save water and money or avoid harmful chemicals while dish washing?

~ ~ ~

*Disclaimer: I bought all of these products with my own money, and have not received compensation of any kind to review them. All opinions in this article are my own.

**Disclosure: Although this post may contain affiliate links, all opinions are my own.

Your challenge: This week, consider using green methods and products to wash your dishes.
______________________________________________________

**This post is part of a weekly challenge {Go Green in 2014}, during which the author has challenged herself - and you - to find 52 ways to lead a greener life in 2014. You can follow the weekly posts on this page.**

Monday, June 16, 2014

Ways to Go Green With Your Pets

Go Green in 2014: Week 24


Fortunately, dogs and cats are lovable, because they can have a pretty big carbon footprint - or pawprint. Considering the resources required to feed the critters, it's no surprise that their environmental footprint is comparable to a SUV.

Please don't stop feeding them, though! Take comfort in the knowledge that there are at least a few things you can do to go green with your pets.

Ways to go green with your dog

  • Choose natural, organic products. I have recently switched to washing my Maltese-Yorkie Mila's hair with Dr. Bronner's peppermint scented liquid castile soap, diluted one part soap to forty parts filtered water. Not only is it safer than store-bought shampoo, but the peppermint gives a boost in warding off fleas and ticks.
  • Use biodegradable pick-up baggies. 
  • Avoid harsh cleaners for doggy messes. Sometimes, our pets leave behind things we don't particularly want lying around the house. You don't need harsh chemicals to get these spots clean; choose homemade or green store-bought products instead.
  • Walk to the dog park rather than driving. In addition to reducing your carbon footprint, you will get in some great exercise.
Natural flea and tick remedy: Peppermint oil


Ways to go green with your cat

  • Filter your water at home. Rather than buying bottled water for our pets, we have a water filter built into the refrigerator. We use this water for our pets in addition to drinking it ourselves. You can also buy inexpensive pitchers with water filters.
  • Go green with kitty litter. You can always shred newspaper to fill the litter box, but there are various green litter options that you can buy if you aren't that ambitious. Look for a kind that can be flushed down the toilet if possible. If not, use newspapers to create a paper bag for used litter, rather than plastic bags.
  • Make your own pet toys. Rather than buying expensive cat toys, make your own using (safe) items found around the house, like empty toilet paper rolls. If you have old toys your cat no longer plays with, consider donating them to a shelter.


Pets with the smallest carbon footprint

Don't have a pet yet? If you're thinking about getting one, but aren't completely set on a dog or cat, consider one of these three pets with the smallest carbon footprint: birds, fish, and hamsters. Read this article to find out why they are so much more environmentally-friendly.

Do you have pets? What kind? How have you gone green with your pets, or how are you planning to do so?

~ ~ ~

*Disclaimer: I bought all of these products with my own money, and have not received compensation of any kind to review them. All opinions in this article are my own.

**Disclosure: Although this post may contain affiliate links, all opinions are my own.

Your challenge: This week, consider the various ways you can go green with your pet care and try to implement them into your life.
______________________________________________________

**This post is part of a weekly challenge {Go Green in 2014}, during which the author has challenged herself - and you - to find 52 ways to lead a greener life in 2014. You can follow the weekly posts on this page.**

Monday, June 9, 2014

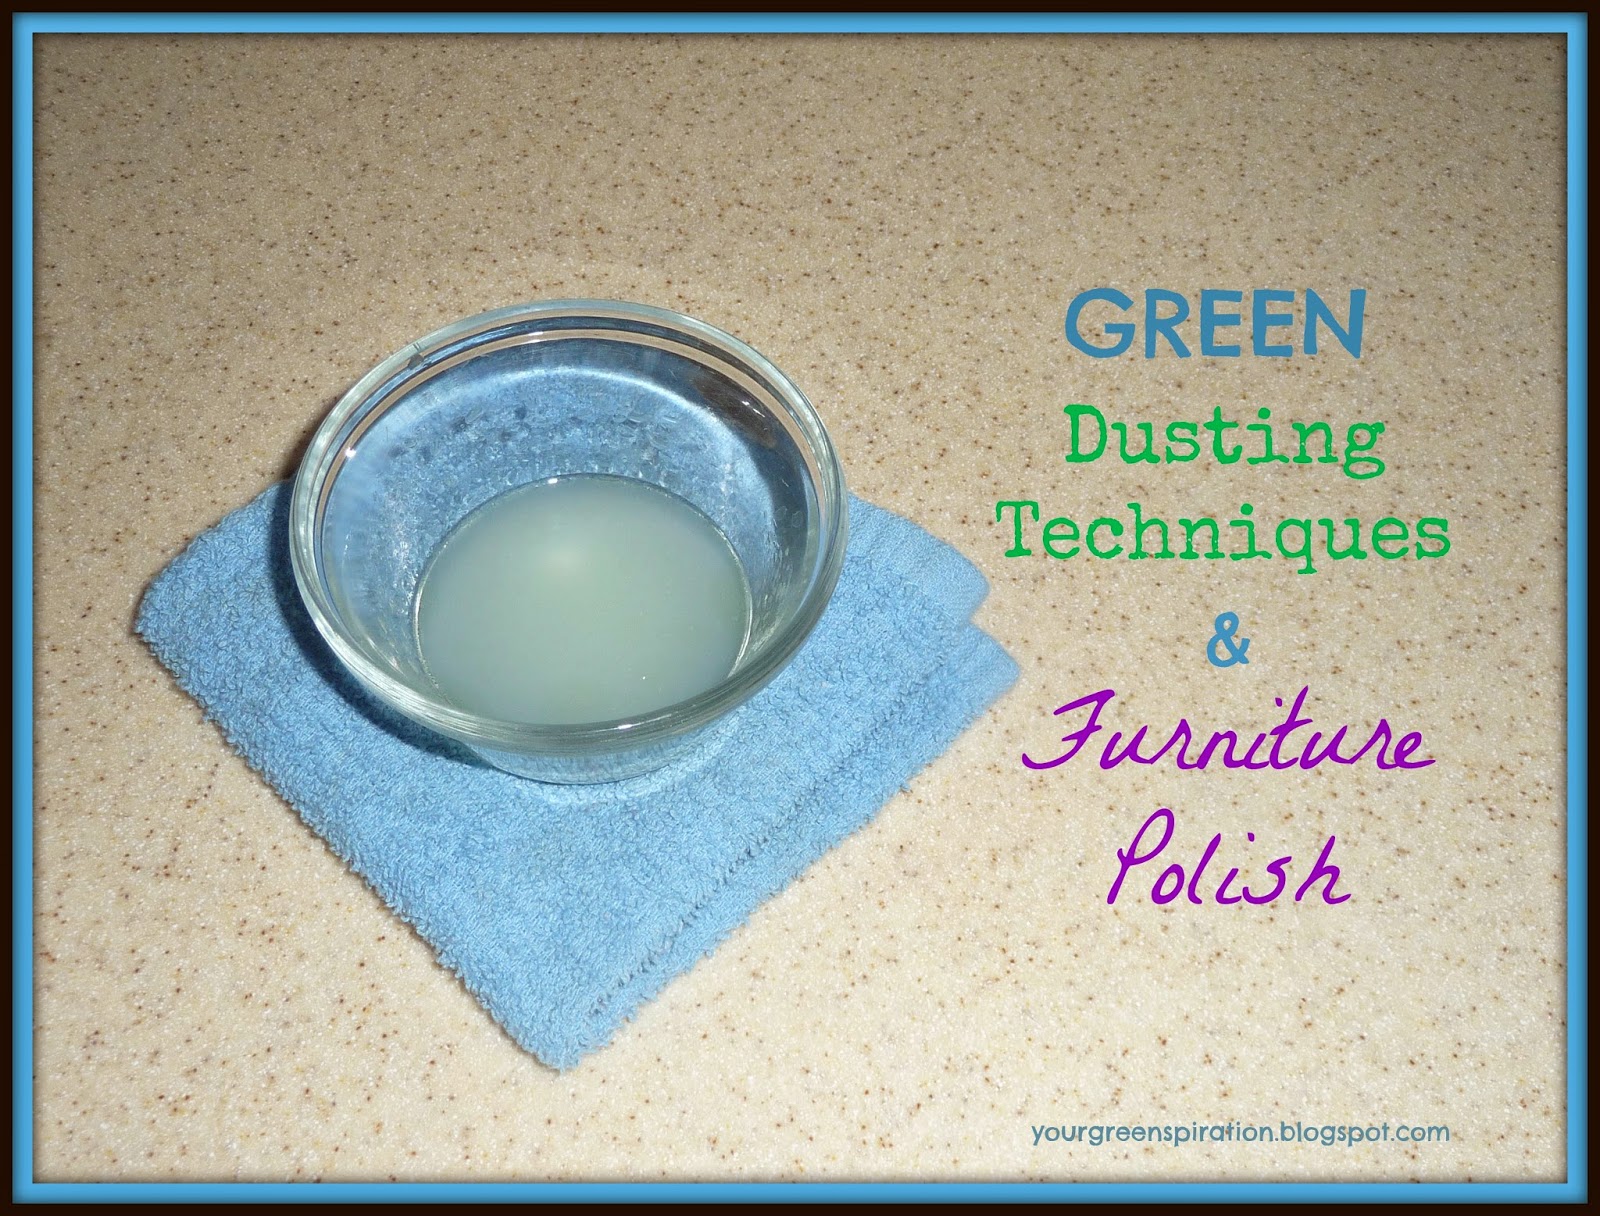
Green Dusting Ideas for the Home

Go Green in 2014: Week 23


Ugh. Dust! Seems like you can remove it one day, and the next day, it's already starting to build up again. With all the dusting you might be doing (not often enough, if you're like me!), any chemicals that are in your spray are ending up in the air and on your furniture, potentially causing indoor pollution.

As long as we have to dust, it might as well be done using safe, non-toxic cleaning solutions. First, let's go over a few ideas for green dusting techniques. Then I'll share with you a few natural ideas for polishing your furniture.

Green dusting techniques

  • Microfiber cloths. These split-hair cloths work like a magnet to attract dirt. They can be used either dry or wet for dusting. Avoid using cleaning products on microfiber cloths, and follow the manufacturer's instructions for care.
  • Vacuum cleaner attachments. While you are vacuuming the floors, might as well use the hose and any attachments to suck up the layer of dirt from any dusty surfaces. It's quick and easy, and leaves no harmful chemicals behind.
  • Green dusting spray. It's super easy to make your own dusting solution: In a spray bottle, combine one tablespoon of apple cider vinegar with two cups of water, and shake well. If desired, you can squeeze some lime juice or lemon essential oil in it for a citrusy aroma.

Green Dusting Tips for the Home (link)

Green furniture polishing ideas

Is your furniture looking, not only dusty, but dull as well? Try these green ideas for furniture polish.

  • Mix together in a small bowl: 2 tablespoons lemon juice, 3 drops olive oil, 10 drops lemon essential oil. Dip a recycled cotton cloth into the mixture and wipe onto hard surfaces.
  • Mix together in a spray bottle: 1/4 cup distilled white vinegar, 1/4 teaspoon lemon oil or lemon juice, 2 tablespoons olive oil. Shake well and spray onto hard surfaces, removing the excess with a clean cotton cloth.
  • Mix together in a spray bottle: 1/3 cup water, 1/2 tablespoon liquid castile soap, 16 drops essential oil (your choice). Shake well and spray onto hard surfaces, removing the excess with a clean cotton cloth.

Tip: Test any these recipes on an inconspicuous area of your furniture before using it on the entire surface.

Dusting may not be a fun chore, but at least you can feel good about it when you're using safe, non-toxic methods to dust and polish hard surfaces in your house. What's your favorite green dusting idea for the home?

~ ~ ~

*Disclaimer: I bought all of these products with my own money, and have not received compensation of any kind to review them. All opinions in this article are my own.

**Disclosure: Although this post may contain affiliate links, all opinions are my own.

Your challenge: This week, dust your house without the use of toxic chemical cleaners.
______________________________________________________

**This post is part of a weekly challenge {Go Green in 2014}, during which the author has challenged herself - and you - to find 52 ways to lead a greener life in 2014. You can follow the weekly posts on this page.**

Monday, June 2, 2014

How to Start Composting

Go Green in 2014: Week 22

In this post:

* Indoor/outdoor compost collection containers
* What can and cannot be composted
* What to do with your homemade compost


In this post about how to reduce food waste, I mentioned that I hadn't yet started composting, but that I planned to start. Well, I can finally say that we have started a compost pile!

To get started composting, you will need an indoor collection container and a larger one outdoors. You will need to learn what can and what cannot be composted. Finally, you will need to figure out what you're going to do once the compost is ready.

Indoor collection container ideas

You can use anything with a lid to collect your kitchen scraps for the compost pile. I like the idea of using a decorative bowl with a cover to sit on the counter, but until I find one I like, we are using a mason jar as an indoor collection container. You could also use a food storage container, an empty pickle jar, or even an aluminum can with something to cover the opening. You probably won't want to use anything that doesn't have a cover, due to the smell and the fact that it might attract fruit flies.

Outdoor collection container ideas

You will also need somewhere to dump the kitchen scraps and yard waste where it can all decompose. My husband built me a homemade outdoor collection container using a small slab of concrete and some bricks that were lying around. He built three walls with the bricks, and left the fourth side open so we can easily turn the compost each time we take out our kitchen scraps.

As the pile has grown, it has become slightly more difficult to turn the compost; I have been using a shovel to move it from one side to the other. It does take a bit of strength to get underneath the compost!

If you build your own compost area, you will want to make sure that water is able to drain after it rains. If you like, you could even section off an area of the yard where you want to plant a garden and use that area to build your compost pile. Then, after a couple months, your garden should be ready to plant.

Or maybe you would prefer to buy a plastic compost bin, rather than making one. A large barrel will make it easy to turn your compost on a regular basis because it can be rolled over with little effort.

Tip: When turned regularly (at least once a week - preferably every day), you compost could be ready to use within a few months. If it is never turned, it will take two years to decompose.

My homemade collection container is inside an old dog kennel on our property

What can be composted

  • leaves
  • grass clippings
  • hair clippings
  • popcorn
  • produce peels
  • eggshells
  • paper napkins
  • paper towels
  • brown paper bags
  • peanut shells
  • chicken/rabbit manure
  • earthworms (to speed the decomposition process)
  • and more...

163 Things You Can Compost (link)

Tip: For richer compost, add a mix of both kitchen and yard scraps to your pile.

What cannot be composted

  • bread products, baked goods
  • pasta, rice
  • cooking oils
  • diseased plants
  • human or pet feces
  • meat products, bones, fat
  • dairy products
  • sawdust
  • personal care products
  • walnuts
  • stubborn plants (dandelions, ivy)

What can you do with compost?

Once your compost pile has finished decomposing, what exactly are you supposed to do with it? First, you should know how to tell when your compost is done: When it's ready to use, your compost will be dark brown, and it will smell earthy. You might still have twigs and bits of eggshells, but you can either remove them or simply leave these larger pieces in the compost.

Of course, you can always use up your compost to fertilize a vegetable garden. But it can also be used to grow indoor plants, feed your fruit trees, feed your lawn (mature lawns only; newly seeded grass can be scorched by compost), and to mulch flower beds and shrubs.

Do you already have a compost pile? What have you done with it in the past? Please share your composting experience in the comment section below.

~ ~ ~

Your challenge: This week, consider starting a compost pile for your food scraps and lawn trimmings.
______________________________________________________

**This post is part of a weekly challenge {Go Green in 2014}, during which the author has challenged herself - and you - to find 52 ways to lead a greener life in 2014. You can follow the weekly posts on this page.**
Related Posts Plugin for WordPress, Blogger...