Monday, May 26, 2014

Ways to Switch from Plastic to Glass Containers

Go Green in 2014: Week 21

*I thought I had this post scheduled to automatically publish while I was away for Memorial weekend, but apparently I didn't, so here it is...a little late.


Although a lot of plastic containers and water bottles are labeled "BPA-free", they may still contain other harmful chemicals to replace the BPA. These chemicals can leech into your food and beverages, which are then consumed. First of all...

What is BPA?

BPA is short for Bisphenol A, which is an industrial chemical found in polycarbonate plastics and epoxy resins. Even miniscule exposures increase risks for breast cancer, prostate cancer, infertility, early puberty, metabolic disorders and type-2 diabetes (source).

Some BPA alternatives, such as BPS, have come on the market, but have yet to be proven safe.

Ways to switch from plastic to glass containers

  • Drink from glass water bottles instead of disposable plastic ones. Not only are they healthier, but the water tastes more pure and you will reduce waste. If you can't find one in stores, you can order them online (the pictured bottle is not currently available, but this one has pretty good reviews).
  • Store food in glass containers instead of plastic. This is especially important when the food is hot, because it can heat up the plastic, releasing the dangerous chemicals into your food. Never microwave a plastic food storage container.
  • Use glass mason jars for storing food, drinks, and more. They work great if you make ice cream toppings, iced tea, or you could even a mason jar as a candy jar. Tied with a ribbon, they are a great way to present a "gift in a jar". And you can even turn mason jars into drinking glasses, soap pumps, and more (mason jars on Pinterest).

I'm going to cut it short this week, but before I sign off, I have to ask: What are some ways you have gotten rid of plastic in your house, particularly for food and beverage storage?


*Disclaimer: I bought all of these products with my own money, and have not received compensation of any kind to review them.


**Disclosure: Although this post may contain affiliate links, all opinions are my own.

Your challenge: This week, consider starting to switch out your plastic containers for glass.
______________________________________________________

**This post is part of a weekly challenge {Go Green in 2014}, during which the author has challenged herself - and you - to find 52 ways to lead a greener life in 2014. You can follow the weekly posts on this page.**

Monday, May 19, 2014

Oil Pulling and Natural Dental Health

Go Green in 2014: Week 20


We're twenty weeks in already... Twenty weeks into my green challenge, and twenty weeks into 2014. I can hardly believe it. Anyway, moving on to this week's challenge: oil pulling and other natural methods for cleaning our teeth.

You might have heard of oil pulling recently - it's been touted all over the web as the newest health 'trend' (although it's actually been around for thousands of years). Well, here's one more post on oil pulling because, after all, there aren't nearly enough out there already.

I've been oil pulling for over a year now. First, what exactly is it?

How to 'oil pull'

All you need to do is place a spoonful of a healthy oil (coconut, sunflower, sesame, olive, etc.) in your mouth and swish for twenty minutes. That's it. Easier said than done, though, right?

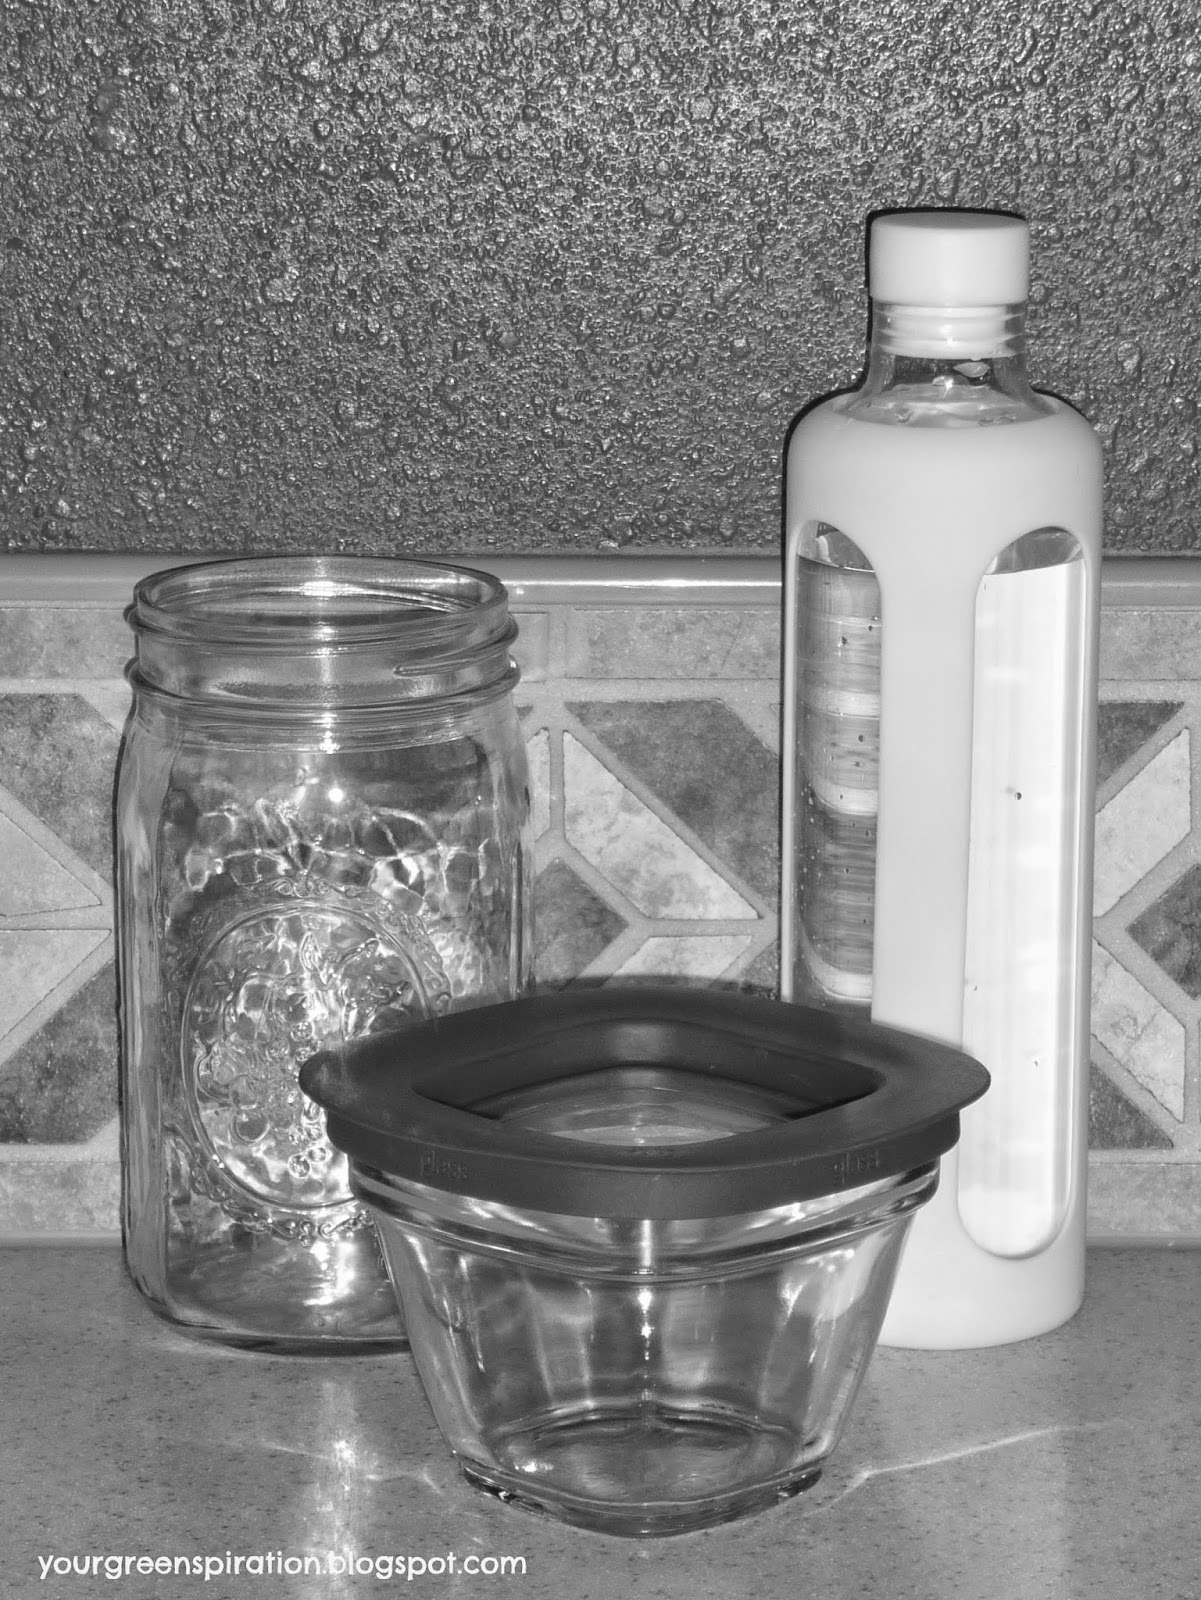
Some people have a problem with the taste and feeling of oil in their mouths. Some even gag on it at first. I use virgin coconut oil, which has a slight coconut flavor (sorry, it's not the one in the picture - I use refined for cooking since it doesn't have the coconut flavor), and it didn't take me long to get used to it, but it could be different for you.


Tips:

  1. Start out oil pulling for five minutes if you have a hard time getting used to the experience, then work your way up to twenty minutes - but no longer than that.
  2. Do it first thing in the morning, which is one of the times during the day when the bacteria count in your mouth is highest. If you do it twice a day, the second time could be right before going to bed at night to ensure an extra-clean mouth while you sleep.
  3. Do not swallow the oil; it will collect lots of bacteria in your mouth that you probably don't want going through your digestive system. Remember, the reason you're oil pulling in the first place is to remove these yuckies from your mouth.
  4. Spit the oil into the trash can, not the sink or toilet. It could potentially clog your plumbing. 
  5. Rinse your mouth well after oil pulling. I always oil pull first thing in the morning while getting ready for work, then brush my teeth after eating breakfast - but this is just what works best for me.

Benefits of Oil Pulling

  • Pulls disease-causing bacteria from around the teeth and gums
  • Whitens teeth
  • Reduces sensitivity
  • Reduces bad breath
  • Could prevent/reduce periodontal disease
  • Helps with acne, eczema, and dermatitis
  • Reduces allergies and asthma
  • Removes mucous and relieves congestion
  • Relieves PMS
  • And more...

Does oil pulling actually work?

You are probably wondering if it actually works, or if it's way over-hyped. I won't claim that it's a miracle cure, because I haven't noticed any huge changes in my health. However, I do believe (and research backs this up) that oral health correlates with our overall systemic health. When our mouths are healthy, our bodies are freed up to work on healing other health problems.

Benefits I've noticed since I started oil pulling: cleaner feeling in my mouth, better breath, whiter teeth, and reduced sensitivity. As long as I have been oil pulling, I haven't gotten a cold or allergies (but I did last fall when I took a break from it). And for the most part, I don't seem to get menstrual cramps as strong I have in the past, although that could just be a coincidence. As an experiment this past week, I stopped oil pulling for a few days, and I did notice that my mouth didn't feel nearly as clean, my teeth felt a lot more sensitive, and I'm pretty sure I had worse morning breath!

More natural dental health tips

I use oil pulling as a replacement for mouthwash, but it should not be used as a replacement for brushing your teeth. If you like, you could also make a mouthwash using essential oils (make sure they are safe to use orally) or with Dr. Bronner's peppermint soap. To brush, I look for whatever natural toothpaste I can find in the organic section at the grocery store, although there are lots of recipes for homemade toothpaste. Some people brush with baking soda, which is a natural teeth whitener, although I feel that it's too harsh as a long-term solution. For whitening, I have heard of people who use activated charcoal, although I haven't used it personally.


Should you try oil pulling?

Sure, twenty minutes is a long time. But you can easily do your daily oil pulling while showering, reading, watching TV, cleaning, during your morning primping routine...and so on. However, make sure to read the disclaimer below before starting your oil pulling routine.

*Disclaimer: I am not a dental or medical professional, and this is not intended to replace professional advice or regular dentist visits. You should never use oil pulling as a replacement for medical treatment. If you are pregnant or have a medical condition, see your doctor and ask if it is safe for you to try oil pulling.

~ ~ ~

**Disclosure: Although this post may contain affiliate links, all opinions are my own.

Your challenge: This week, consider trying oil pulling, at least for a few minutes to get started. Once you have gotten used to it, try working your way up to twenty minutes.
______________________________________________________

**This post is part of a weekly challenge {Go Green in 2014}, during which the author has challenged herself - and you - to find 52 ways to lead a greener life in 2014. You can follow the weekly posts on this page.**

Monday, May 12, 2014

Green Ideas for a Shaving Cream Alternative

Go Green in 2014: Week 19

I've spent a lot of time trying to find a green, non-toxic shaving cream that actually works...and works well. Since you started your green journey, you might have been asking yourself, "How can I shave without using toxic chemicals?".


The first time I ordered my shampoo and conditioner from BomaSense, I also ordered their body wash, lotion, and shaving cream. I found that the shaving cream provided a smooth, close shave, but I had one problem with it: My razor got really clogged, and I spent a lot of time in the shower just trying to clean it out. And last time I checked, they didn't even have the shaving cream on their website anymore.

Next, I tried shaving with Dr. Bronner's liquid castile soap (using the recipe I posted a couple weeks ago). It worked without clogging the razor, but I wasn't ever able to get a really close shave. I later heard that it's not recommended to use soap while shaving, anyway. For a couple weeks, I used nothing but water, but that's also not a good idea because it can cause ingrown hairs, and it's difficult to get close to the skin.

What am I currently using as a shaving cream alternative?

One day while I was using my BomaSense body wash in the shower, I was struck with an idea - why not use it as a shaving cream too? I was putting it on my legs anyway, and it contains nourishing oils that leave a smooth coat on the skin until it's rinsed off. The results?

It worked perfectly as a shaving cream, and I've been using it to shave my legs since. Since it doesn't contain harmful chemicals to make it suds up, it has very little lather. I simply rub a thin coat of the body wash on my damp legs, and it stays put until I shave it off. As a bonus, the oils do not clog my razor, and it easily rinses clean.

Disclaimer: I know I have mentioned my BomaSense products a lot, but I do not make any money from promoting them; I just like them that much. If you have a different brand of body wash that you like, I bet it will also work as a shaving cream alternative!

What are some other shaving cream alternatives?


Please note: Although I am a woman and this post may seem like it's geared more toward other women, I am sure all these products would work for men, as well. Some may work better for you than others, so test them out until you find a shaving cream alternative that works for you!

Tips for getting a smooth shave

  1. For the best results, shave at the end of your shower to make sure your skin and hairs have time to soften.
  2. Apply your shaving cream alternative to damp - not wet - skin. This will ensure that is sticks and doesn't slide off right away.
  3. If possible, let it soak into your skin for a few minutes before shaving.
  4. For smoother results, shave with the hair growth. Then if needed, you can go over the area again against the growth.
  5. After showering, dry off and apply a non-toxic lotion right away to seal in moisture for softer, smoother skin.


Have you tried any of these ideas, or something else that is not listed above? What is your favorite green shaving cream alternative?

~ ~ ~

**Disclosure: Although this post may contain affiliate links, all opinions are my own.

Your challenge: This week, consider making the switch to a greener, non-toxic shaving cream.
______________________________________________________

**This post is part of a weekly challenge {Go Green in 2014}, during which the author has challenged herself - and you - to find 52 ways to lead a greener life in 2014. You can follow the weekly posts on this page.**

Sunday, May 11, 2014

Green for a Cause

As some of you might already know, this blog isn't the only place I write and publish... I first started writing online over five years ago (I can't believe it's been that long already!) for a site that is now owned by Yahoo! I write a lot of green-related stuff over there, too. In addition to getting paid upfront for each article, I also get paid when my articles are viewed.

During the month of May, I have offered to donate my upfront and pageview earnings to a wonderful cause: My aunt is adopting a little boy from China, and along with many other family members, I am trying to help raise the funds needed to cover the adoption-related expenses. This is my way of pitching in and helping to bring this little boy home to his family.

I am asking my readers to help out...

Naturally, I am hoping to increase pageviews this month so I can make as big a donation possible. If you are able, I would ask you to visit my contributor profile and read any articles that are interested in. Please, I ask you not to click on them just to click and increase views. I understand if you visit and do not find anything that interests you...although there are 1,179 pieces of content (and counting!) to choose from. :-)

My profile has a number of different article topics, but if you are specifically looking for green-related content, please visit the tab (above) titled "Green Resources" and look under the section called "Tonya's Green Living Articles". A lot - but not all - of my green/natural content is listed here.

It costs you nothing but a little bit of your time

Even if it's just a few minutes. Your time is valuable, and we appreciate that you have even read this far! So now I'll quit taking up your time with this blog post and just say....thank you!

Monday, May 5, 2014

10 Natural Cold & Allergy Remedies

Go Green in 2014: Week 18

Jim Lukach / https://www.flickr.com/photos/65047661@N00/
Allergy season is in full force, and excluding the occasional dry throat, I have been able to avoid it so far. If you are suffering from a cold or seasonal allergies, you might be wondering how you can naturally relieve the symptoms or - if they haven't gotten to you yet - avoid them altogether. The following tips don't guarantee perfect results, but they can certainly help.

Is it a cold or allergies? Find out here.

Dietary changes

1. Eating nutritional, organic foods can potentially ward off colds and allergies. This is something you can do all year-round to help ward off sickness, and to lessen symptoms when you are unable to avoid them.

2. Avoid fruit (especially the peels) when allergy symptoms are in full force. While fruit can help keep you healthy, the pollen on many fruits can exacerbate symptoms if you are already experiencing them. If nothing else, remove the peel before eating it.

3. Consider incorporating probiotics into your diet to ensure a healthy gut. Probiotics help keep your digestive system healthy by repopulating your gut with good bacteria. You can take them either in pill form or by consuming fermented foods, such as yogurt.

Oral remedies

4. Local honey is believed to help prevent seasonal allergies, and it can relieve symptoms. It is believed that consuming honey from local bees can help acclimate you to the pollen in your area, which lessens allergy symptoms. Whether this is true or not, I do know that honey is a wonderful natural remedy for a sore throat, among other cold and allergy symptoms.

Y.S. Organic Bee Farms - Organic Honey

5.  Apple cider vinegar can help reduce mucous production and relieve symptoms. It may not taste the best, but if you can choke down a couple teaspoons a day, you might find yourself feeling much better within a couple days.

6. Nettle leaf is a natural antihistamine and can help soothe allergy symptoms. Nettle leaf is often consumed in tea form.

7. Quercetin is a natural bioflavonoid that is believed to help stabilize mast cells. This keeps them from releasing histamine, thus relieving allergy symptoms.

Relieving congestion

8.  Oil pulling is an ancient practice that has recently been discovered by many. It involves swishing oil (such as olive or coconut) in the mouth for twenty minutes, and has many benefits, including loosening mucous. If done daily, it could even help with avoiding colds and allergy symptoms.

Nutiva Organic Virgin Coconut Oil

9. The neti pot is recommended by traditional and natural doctors alike. I have not needed to try it, but I have heard good things about this method. To use the neti pot, you pour a solution through the spout into one nostril and let it flow out the other; this process cleans out the sinuses. You can either buy the solution or make your own at home.

10. To relieve chest congestion, boil a pot of water and breathe in the steam for 10-15 minutes. Make sure to cover your head with a towel to trap the steam. I have had wonderful results with this natural remedy, especially when I added a few drops of eucalyptus essential oil to the hot water. It will loosen up the congestion and help to clear your lungs.

~ ~ ~

**Disclosure: Although this post may contain affiliate links, all opinions are my own.

Your challenge: This week, if you experience seasonal allergies, consider the ways you can relieve them naturally and incorporate these ideas into your daily routine.
______________________________________________________

**This post is part of a weekly challenge {Go Green in 2014}, during which the author has challenged herself - and you - to find 52 ways to lead a greener life in 2014. You can follow the weekly posts on this page.**
Related Posts Plugin for WordPress, Blogger...